This tutorial is under construction, as it is currently missing important screenshots.
As a reseller, you may want to sell our services to your customers and use an automated billing system to provision service, bill clients, etc. We’re going to show you how to set this up.
First, you should have created your packages. Click here for that tutorial.
You should create a Welcome Email before you create the product. Click Setup and then Email Templates in WHMCS.
Click Create New Email Template.
Set Email Type to Product/Service, give it a unique name. Click Create.
Your email template is yours to create. This is what your software will send to customers when they purchase email service from you. At the bottom, there are all kinds of variables (Available Merge Fields) that you can fill in to make the template dynamic. We can’t make this for you, but we can show you what our template looks like: https://docs.google.com/document/d/14yuMEOlvSPZyM8hKtLx1TbRcf404ZDSG7jI9q2TiQMM/edit?usp=sharing
Next, you need to add the server.
In your WHMCS admin, go to Setup > Products/Services > Servers.
From there, click Add New Server. Here’s what that page looks like:
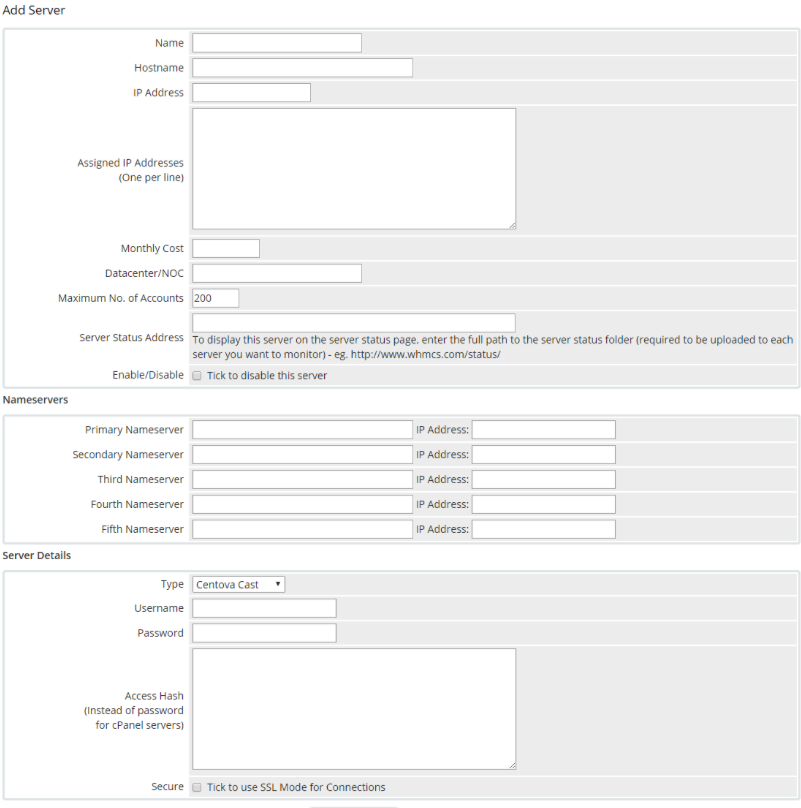
Here are what the values on this page should be:
Name: The lower case name of the server we put your service on. So for example, if we put you on safari.mxrouting.net, put “safari” here. This is important.
Hostname: The full hostname of the server we put your service on. So for example, if we put you on safari.mxrouting.net, put “safari.mxrouting.net” here.
Scroll down to Server Details. Change Type to DirectAdmin, and enter your reseller username/password (from the Important Reseller Information e-mail) in the Username and Password fields.
Click Save Changes.
Next, go to Setup > Products/Services > Products/Services:
Click Create a New Product:
Fill in details as desired.
Make sure to use Shared Hosting and not Reseller Hosting. We sold you the Reseller Hosting, you are selling your customers the Shared Hosting. Don’t forget to change Module to DirectAdmin. You can disable “Create as Hidden” but be aware that this will become publicly visible in your WHMCS as soon as you’re finished. You may want to test first, then return later and edit the product to unhide it.
Click Continue.
When finished with that, click the Pricing tab and set that up as needed.
When you finish that, click the Module Settings tab and configure that as desired.
Click on the Links tab and you can copy the URL required to order the product. You might use that to send to potential customers or to link from your website.
You can keep doing things in there as you need or want, but that’s all you need to do the basic setup. Click Save Changes and you’re done.