ADDING DNS RECORDS TO ROUTE53
Read First
Several parts of this document are animated GIFs showing how to accomplish a task. When you scroll to them, you may be viewing them from the middle or end. Watch through them to see them start over.
Find DNS Records
Step 1: Log in to Route53
https://console.aws.amazon.com/route53/v2/hostedzones#
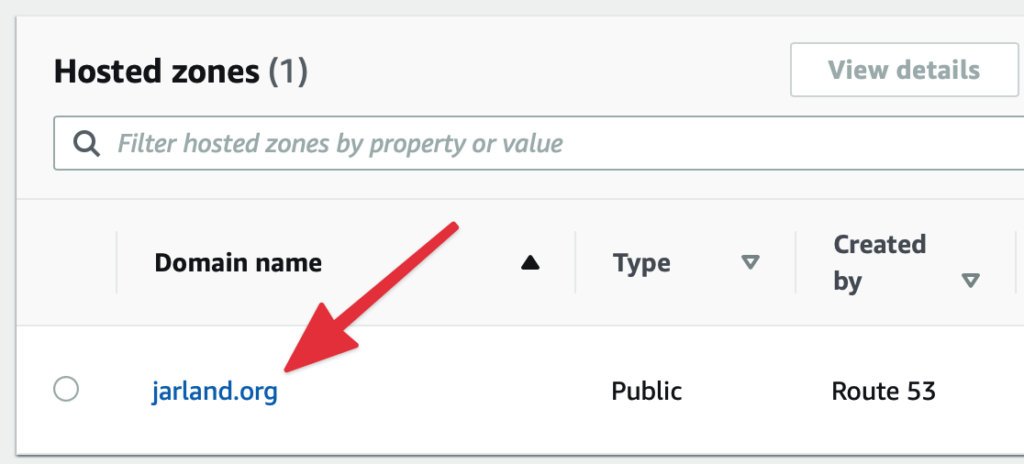
Step 2: Locate and click on your domain
Delete Old MX Records
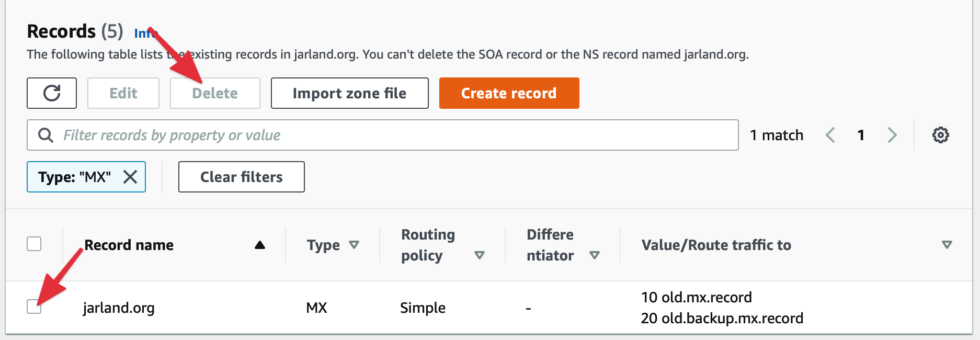
Put a check in the box next to the current MX records, then click Delete. You can easily locate it by typing “Type: MX” in the filter/search box above the DNS records.
Locate MX Records
This has changed. The concept is the same, the GIF below will be updated shortly. The URL for email history is here: https://accounts.mxroute.com/index.php?/clientarea/emails/

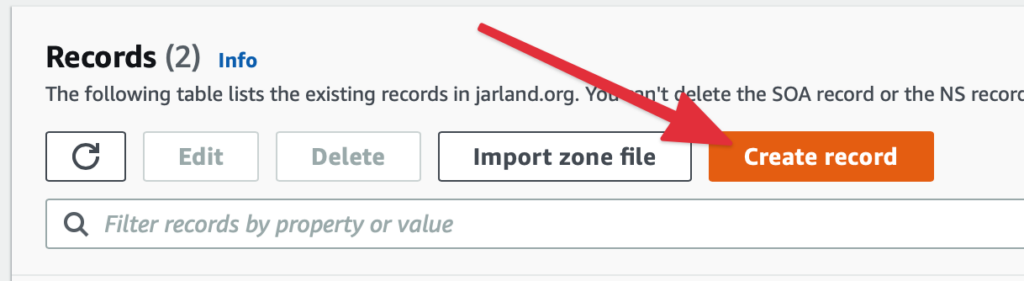
Add MX Records
Note that the records used in this example need to match the ones you located in the previous step, not necessarily the ones we used in the example.
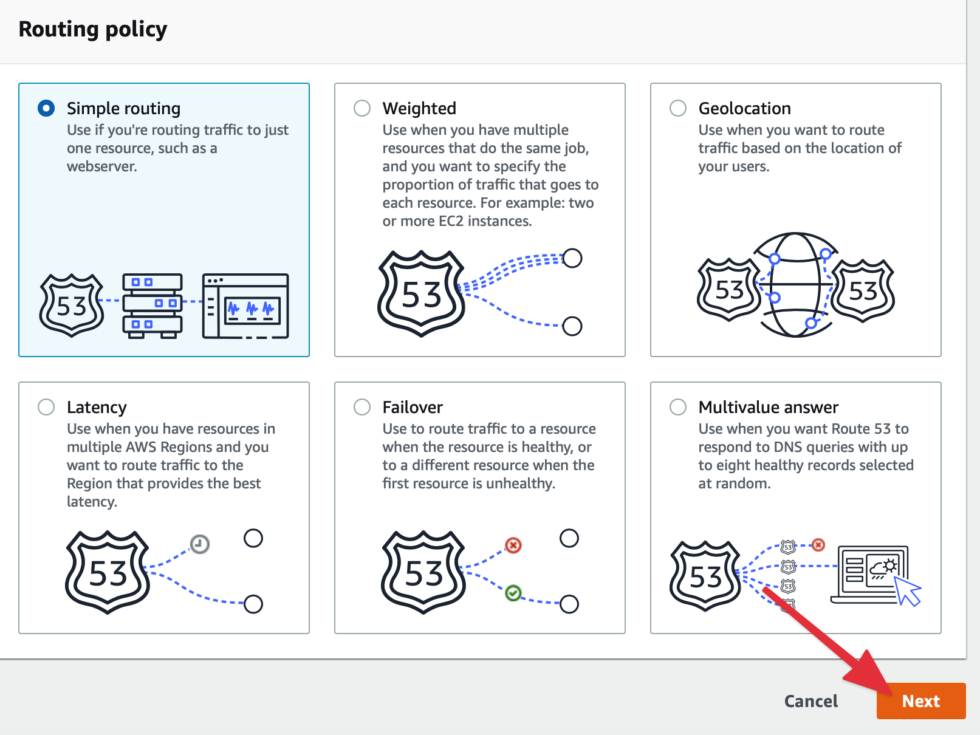
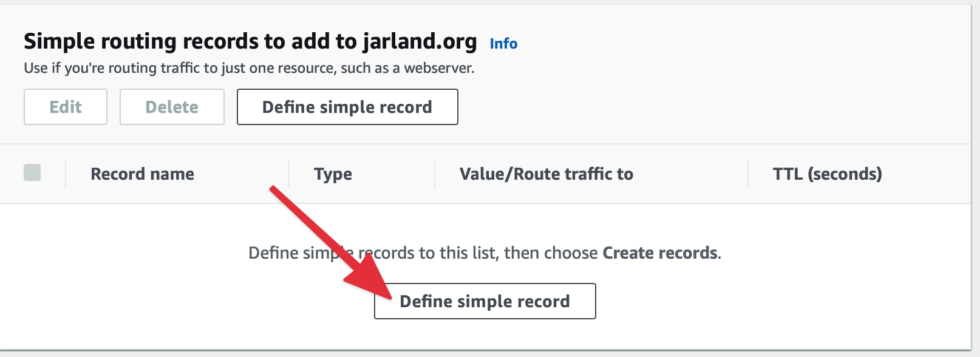
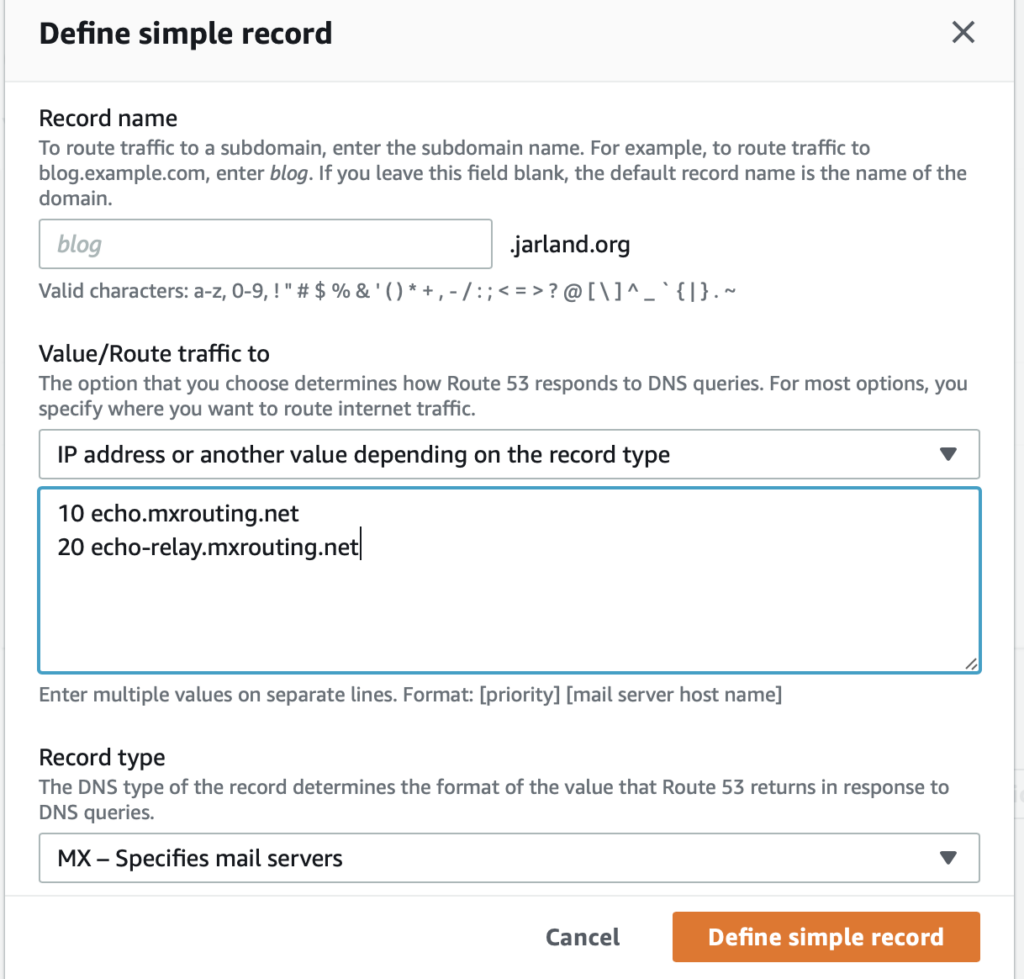
Then click the orange “Define simple record” button.
Add SPF Record
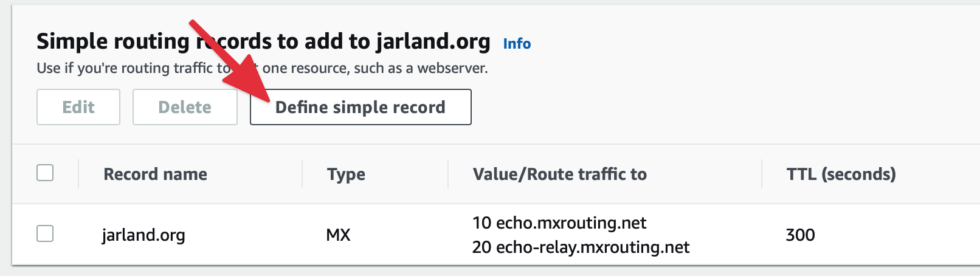
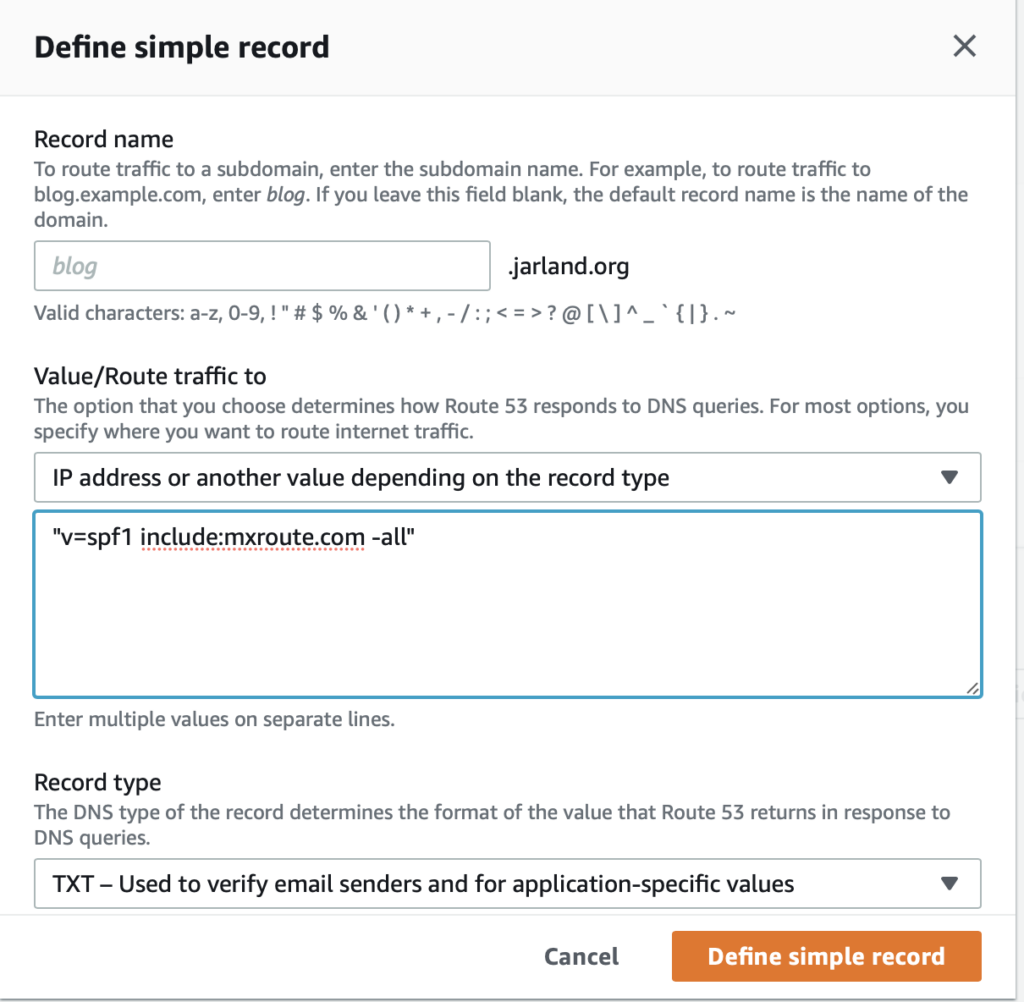
Then click the orange “Define simple record” button.
Add DKIM Record
Note that the name is always:x._domainkey
Video: https://www.youtube.com/watch?v=FjUr-HDjvOg
IMPORTANT: Notice we pick somewhere relatively in the middle of the string to add two quotation signs. This is understood by Route53 as splitting the record into two. Your position doesn’t have to be exact, it’s just that the string is too long by default for the DNS editor at Route53, and it needs to be split up to fit.