SETUP DKIM
While most of our tutorials for specific DNS services include a DKIM guide, this one focuses on just how to use the DKIM key (and does happen to use ClouDNS as an example).
Every DNS provider will be unique to some extent, but the principles that guide this process remain the same. As a result, most of the terminology remains the same as well. This guide may not lead you through every single step with your DNS provider, that is something you will need to know how to do. However, it will show you how this was accomplished for our sample scenario.
You need to repeat this process for every domain, as each domain has it’s own DKIM key.
Once logged in to the Control Panel, select the domain that you are currently working with from the drop-down box in the top-right corner.
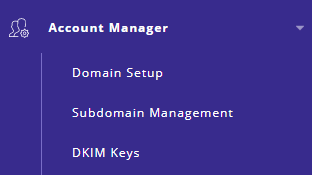
Once the domain is selected, click on Account Manager and then DKIM Keys, on the left side.
Then, on the right side, you will see several DNS records. The only DNS record you will use from this page is the DKIM key. Most of this is irrelevant to you. Scroll to the bottom and find a record that looks like this:

The right side of that has a bunch of text that, frankly, looks like it would be of use to no one. That is what you need to copy to your clipboard, to paste later. Specifically, this whole section:

If you hit failure later, try doing this again but NOT selecting the quotations at beginning and end. Some DNS providers add their own quotations, leading you to have two sets.
NOTE: CloudFlare wants you to select that WITHOUT the quotations at the beginning and end. This is important it CloudFlare is your DNS provider.
Now, for my domain jarland.me (as is our example here), I use ClouDNS to host my DNS. You probably use someone else. This is where I show you what I did, but you have to know what that means differently for your situation. For me, once I located the domain in my ClouDNS control panel, I clicked on Add New Record:

Then, I received a pop-up that I filled in with this information:
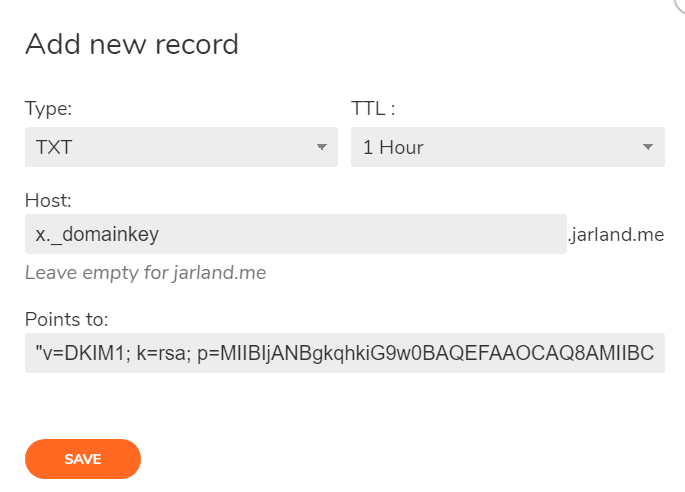
Note the Type is always TXT. The TTL is yours to choose as you see fit, or leave at it’s default. The Host (or Name, or whatever your DNS provider calls it) is “x._domainkey” and the Points to (or Value, Target, whatever your provider calls it) is where I paste the entirety of that information that I had you copy in the previous step.
IT IS VERY IMPORTANT THAT YOU DO NOT MISS EITHER THE DOT “.” OR THE UNDERSCORE “_” IN THE “x._domainkey” RECORD NAME.
Troubleshooting:
If, at this stage, you found that your DNS provider does not support enough characters in a single TXT record to allow you to paste the public DKIM key, here is a tutorial on how to split it into two records: https://www.mailhardener.com/tools/dns-record-splitter
If your DKIM isn’t working and you notice that your record has a double set of quotation marks at the beginning and end, with extra slashes as well, your DNS provider may require you to remove the quotations at the beginning and end before pasting it in their editor. Correcting this afterward may require 4-6 hours of DNS propagation.
Now wait an average of 4-6 hours to ensure DNS propagation, and you should be all set.