#CUSTOM WEBMAIL/POP/IMAP/SMTP DOMAIN
If you don’t get to the point in this tutorial where it says “STOP HERE” in a large font, you skipped instructions. Please do not open a ticket about this not working when you skipped instructions.
Note that this is guide is intended for non-resellers. All of your domains can be used as custom domains for accessing webmail, as well as POP/IMAP and SMTP services. To do this, you want to set up the DNS records and then instruct our system to sign SSL certificates for them. Please note that in our example, we are using the domain “jarland.me” and the DNS provider ClouDNS. This means that you need to know how to adjust this guide to fit your situation as you may have a different DNS provider that may use slightly varying terminology.
Additional note: The “mail” subdomain is for IMAP/POP/SMTP. The “webmail” subdomain is for webmail. Expect that the “mail” subdomain will not work over web browser, and the “webmail” subdomain will not work as the IMAP/POP/SMTP server in your email client.
First you need to take note of the name of the server that you are on with us. This is listed in an email we sent you titled:
[MXroute] Important Account Information
In my example, this is the section I’m looking for:
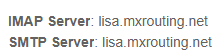
So you see that my example domain, jarland.me, is on lisa.mxrouting.net. Yours will very likely be a different server, take note of that because you can’t use my example without alteration if you are assigned to a different server. This is important for the next step.
Next, you need to go to your DNS provider and prepare to enter a new DNS record. For me, with ClouDNS, it means clicking this button:
When I do that, I get a popup that I fill in with this information:
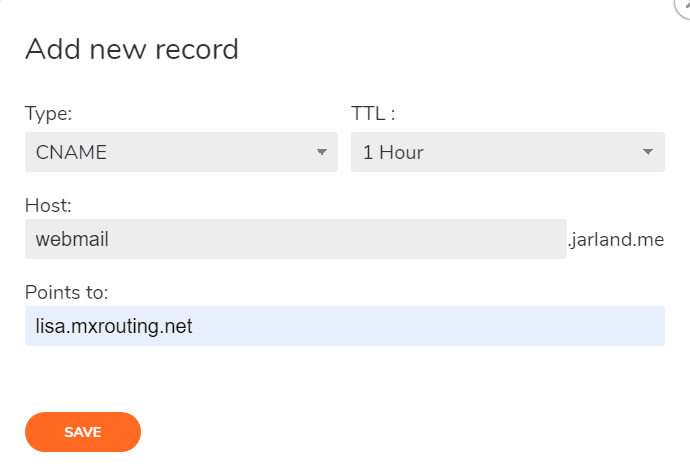
You always use “webmail” as the name of the record. Your DNS provider may call it Name, Record, Host, or something else. It is to be a CNAME record type, and Points To (possibly also called Value or Target) is the server address you found in the previous step (for me, it’s lisa.mxrouting.net).
** Please note: We only recommend using CNAME records.
Please DO NOT use an A record as server IP addresses are subject to change without notice!
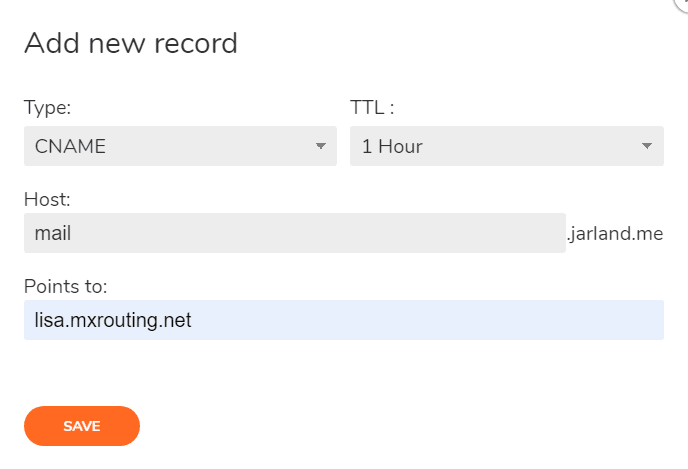
Next, I make another record with the same steps, only I use “mail” instead of “webmail” when filling it in:
After saving both of those records, you may want to wait 1-2 hours before moving on to the next step.
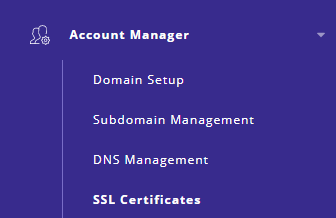
If you are ready for the next step, Log In to DirectAdmin and click on Account Manager on the left side. From there, click SSL Certificates:
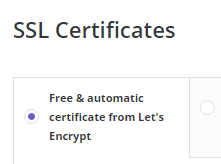
From there, click on Get automatic certificate from ACME Provider. It looks like this:
You will arrive at a page that looks like this:
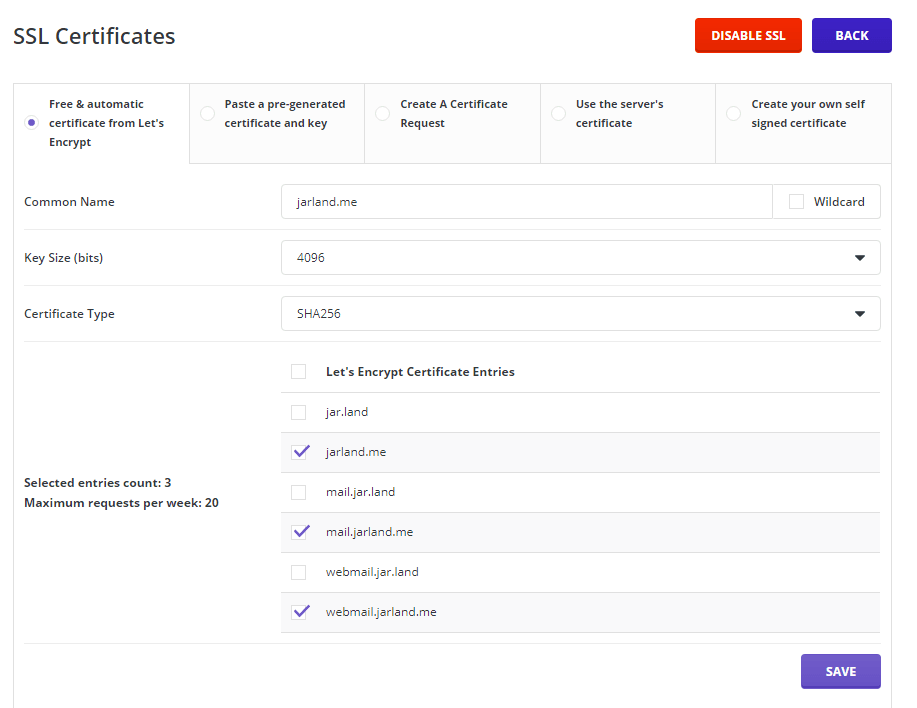
What you need to do next is UNCHECK the primary domain. For this example, that is jarland.me. See here that I removed the check mark:
You ONLY want MAIL and WEBMAIL subdomains to be checked.
STOP HERE
STOP HERE
STOP HERE
DID YOU UNCHECK THE ROOT DOMAIN LIKE WE JUST TOLD YOU TO ABOVE OR DID YOU SKIP IT AND PLAN TO OPEN A TICKET TELLING US THAT THIS TUTORIAL IS BROKEN? YOU DID UNCHECK IT? ALRIGHT, CONTINUE.
Finally, click Save. Wait a few minutes, and you can access webmail.yourdomain.tld with HTTPS, and you can use mail.yourdomain.tld with your favorite email clients for the IMAP, POP, and SMTP server. Obviously, substitute “yourdomain.tld” with whatever your domain actually is.