BRANDING CROSSBOX
You can completely brand Crossbox to fit your own needs, for yourself and your customers, friends, family, etc. You’ll have your own login URL, your own name for it, and your own logo. Here’s a quick guide to setting that up.
Note: The final steps involves waiting for several hours, this won’t be completed instantly at the end of these steps. However, after completing the steps, nothing more will be required of you other than to wait.
Step 1: Create admin
First you need to create an admin@ account on your domain. You can find a guide for creating an email account at this link Add Email Account.
Step 2: Login to Crossbox
You can log in at https://mail.mxlogin.com. Log in with the admin@ account you created in step 1.
Step 3: Go to branding settings
On the left is a menu. Scroll down until you see Admin. Click on that, and then click on Branding. When there, you’ll see an empty form like this:
![]()
Step 4: Figure out URL
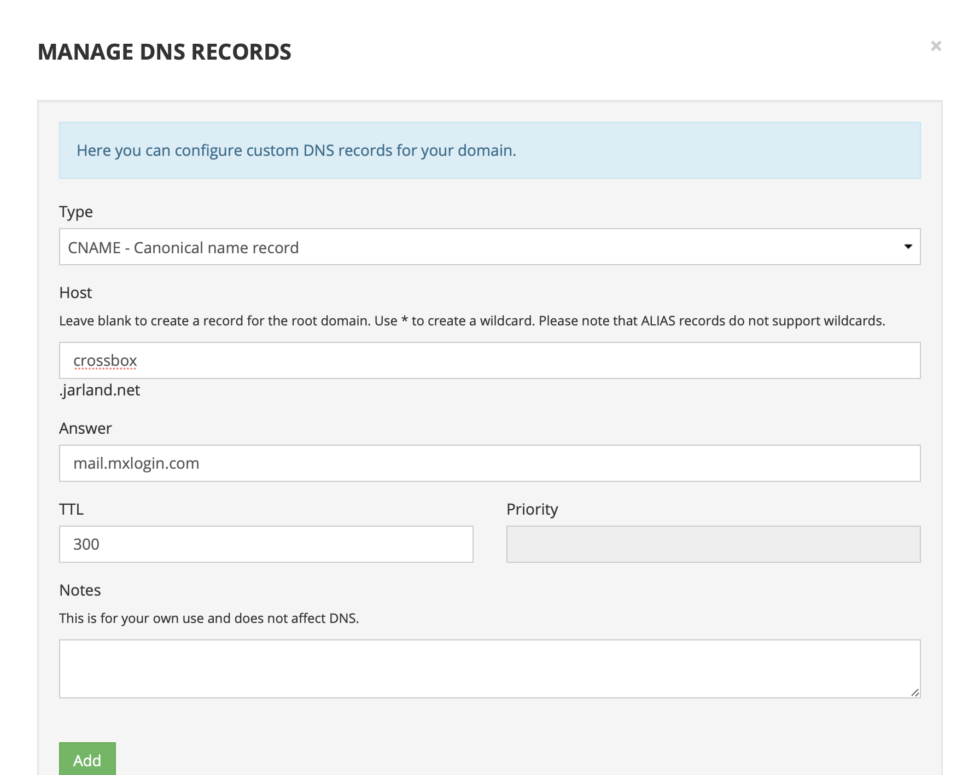
What do you want your login URL to be? For me, and in my example, I chose crossbox.jarland.net. You can choose anything you want here. Think about it, and then add it to your DNS as a CNAME record pointing to mail.mxlogin.com. In my example, I used Porkbun for the DNS, so it looked like this:
Here are some tutorials for adding CNAME records on other DNS services:
NameCheap
Google Domains
GoDaddy
DigitalOcean
Step 5: Fill out the form
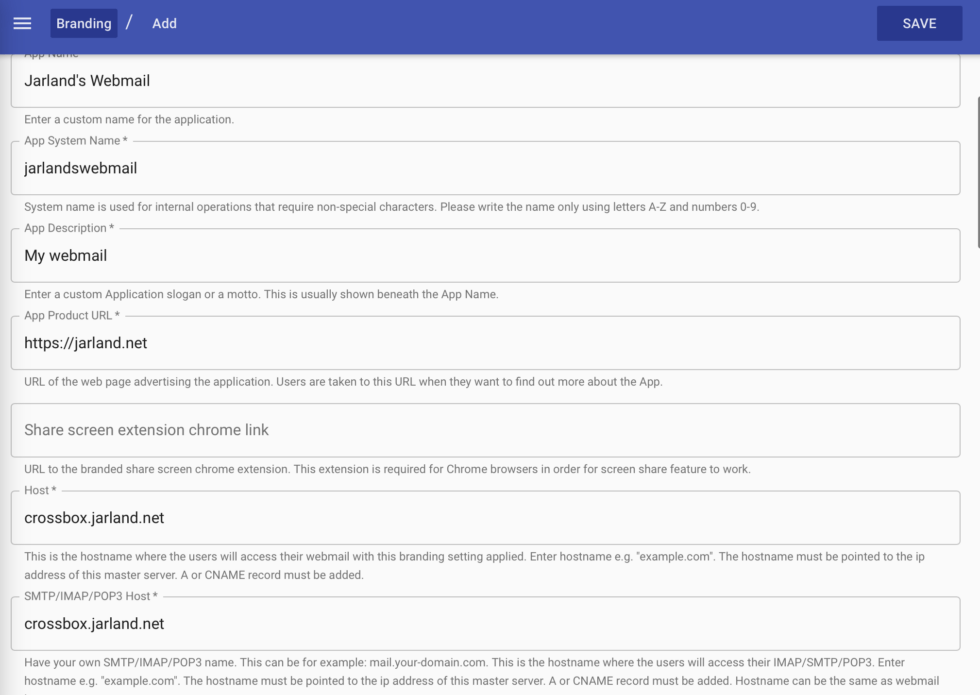
Fill out the form as desired. Here’s a look at what mine looked like when I finished it:
Step 6: Add Logo
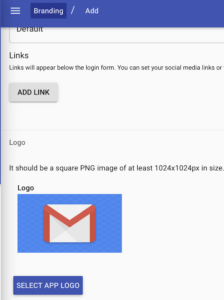
You’ll need to upload a logo that is at least 1024×1024. Scroll down on that form and you’ll find the place to upload it:
You can edit a lot of other things on this page too, feel free.
Step 7: Save changes
Click SAVE in the top right corner of the page when you’re done.
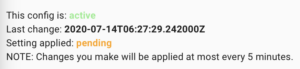
Step 8: Pending
You’ll notice now that your branding is pending. You’ll see something like this:
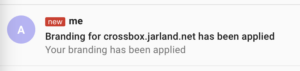
Step 9: Finished… sort of.
When it’s complete, you’ll get an email to that same admin@ account you’re logged in with. It’ll look like this:
But then you have to wait several hours for everything to actually update, because of the number of hostnames this application manages. Hopefully, this part of the documentation can be removed by an update in the future. You should probably let it sit for a few hours now before expecting the URL to work fully.